Design - Create - Grow



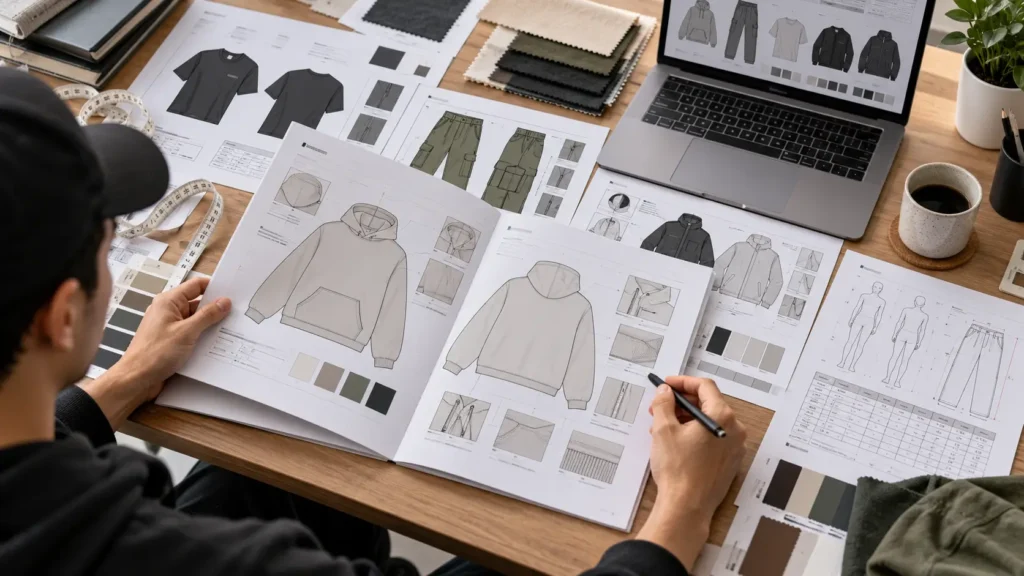
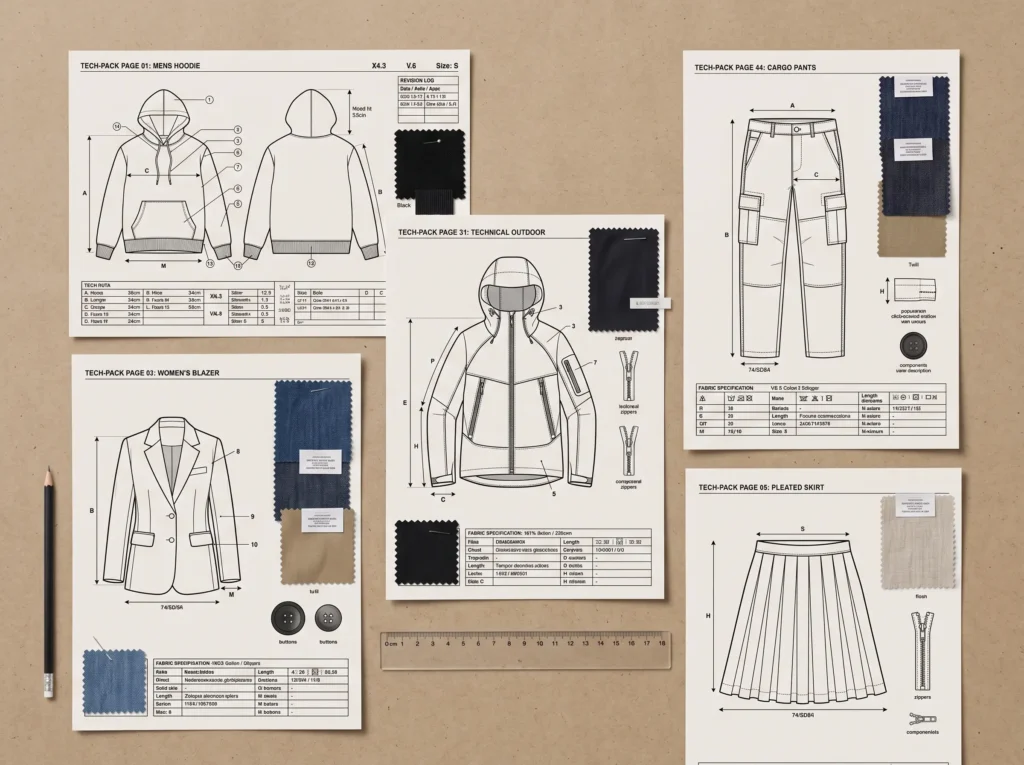
When you first open a clothing tech pack, the drawings, tables, measurements, and notes can feel hard to interpret. Learning how to read a tech pack means seeing them as one connected description of a garment: its appearance, construction, materials, measurements, and approved details.
This guide takes you through the major sections in a practical order. Packs vary by garment, brand, manufacturer, and workflow, so focus on where to look and what to verify rather than memorizing every term. The perspective is yours as the designer or brand owner reviewing the file.
Quick answer: To read a clothing tech pack, identify the style and current version, then review the flats, construction, colors and artwork, BOM, measurements, size information, labels, packaging, and revision history. Your goal is to understand how those details fit together and flag anything unclears before sending or approving the document.
Table of Contents
What Does It Mean to Read a Tech Pack?
A tech pack records a garment’s design and production information. Reading one is more than looking at a technical flat, the clean drawing of the garment’s shape and visible details. Connect that visual information with construction instructions, materials, measurements, production details, and approvals.
Flats show features and location; construction notes describe how features are intended to be made; the bill of materials (BOM) lists components; measurement pages define dimensions; and revision information tracks current decisions. Separate pattern, artwork, label, or testing files may accompany the pack. Cross-check related information instead of reading each page in isolation.
A useful first pass is to identify the garment, understand its construction, check materials and trims, review measurements, confirm colors and artwork, check sizes, review labels and packaging, and then verify the latest revision. For a short definition and broader context, see What Is a Tech Pack.
Before You Start: Identify the Garment and Current Version
Check the cover or style information
Look for the brand or designer, style name and number, collection or season reference if used, version, date, sample stage if relevant, and a short garment description. Not every pack includes every field, but the identifiers it does contain should agree with related files and notes.
Ask yourself: Is this the style I intend to review? Does the style number match the artwork, sample comments, and supporting documents? Is this the latest version, and are the approved sample changes reflected here? A familiar-looking file name alone cannot answer those questions.
How to Read the Technical Flats
Look at all relevant views
Start with front and back views, plus side or detail views if provided. Trace the silhouette, proportions, seams, panels, pockets, closures, collar, cuffs, rib, waistband, and hems.
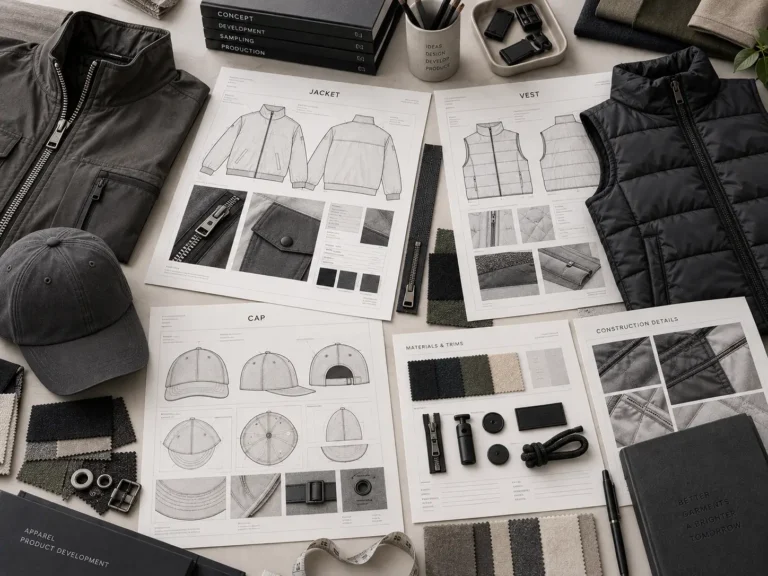
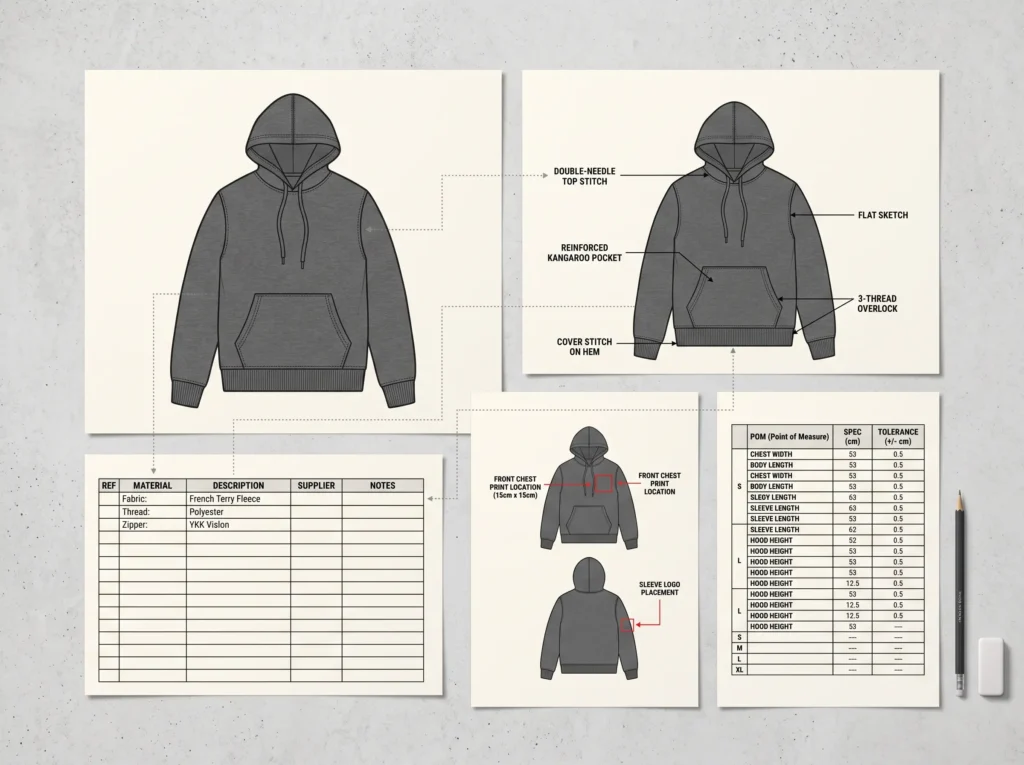
A flat is a technical communication drawing, not a complete instruction set. A pocket line shows a pocket exists, but specifications may still need to define its dimensions, opening, placement, construction, or fabric. Look for a callout or note, and flag features that appear only in the drawing. See What Is Included in a Fashion Tech Pack for a broader outline.
How to Read Construction Details and Callouts
Notes, arrows, numbered callouts, and detail diagrams explain features a flat cannot fully describe. Trace each callout to the drawing, checking relevant seams, stitching, hems, collars, cuffs, pockets, closures, elastic, drawcords, panels, reinforcement, and special details.
Check that each note clearly identifies the feature. If a drawing shows a shaped cuff, for example, look for a note or detail explaining its intended construction. List gaps for discussion instead of assuming a method.
How to Read Colorways and Artwork
Check the colorway information
Separate the main color from contrast panels, trims, thread, and artwork. Compare colorway names and references, such as Pantone references, with the material and trim entries. Color appearance depends on material and process, so confirm how references apply in your agreed workflow.
Check artwork placement
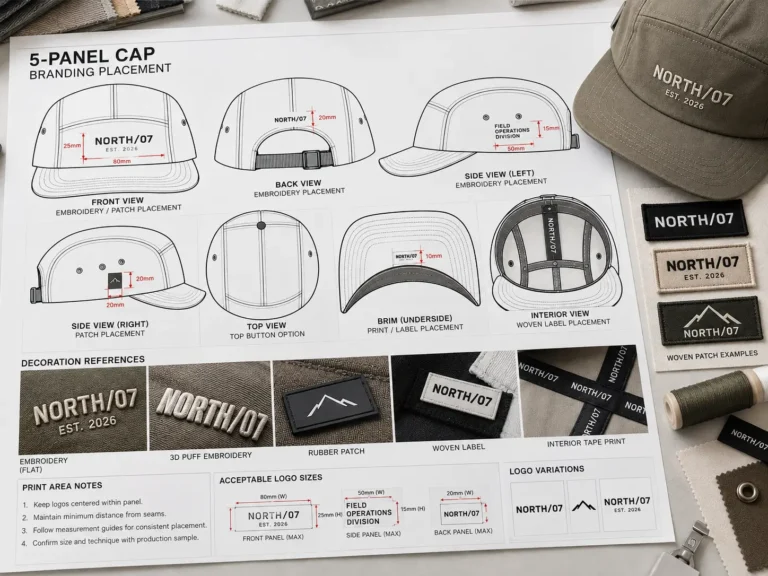
Find the graphic’s location, dimensions, colors, and technique, such as screen printing, embroidery, heat transfer, appliqué, or embossing. Confirm placement and size against the flat and colorway.
The placement view may not be the production-ready artwork. If a separate file is required, confirm it is present and matches the pack’s version.
How to Read the Tech Pack BOM
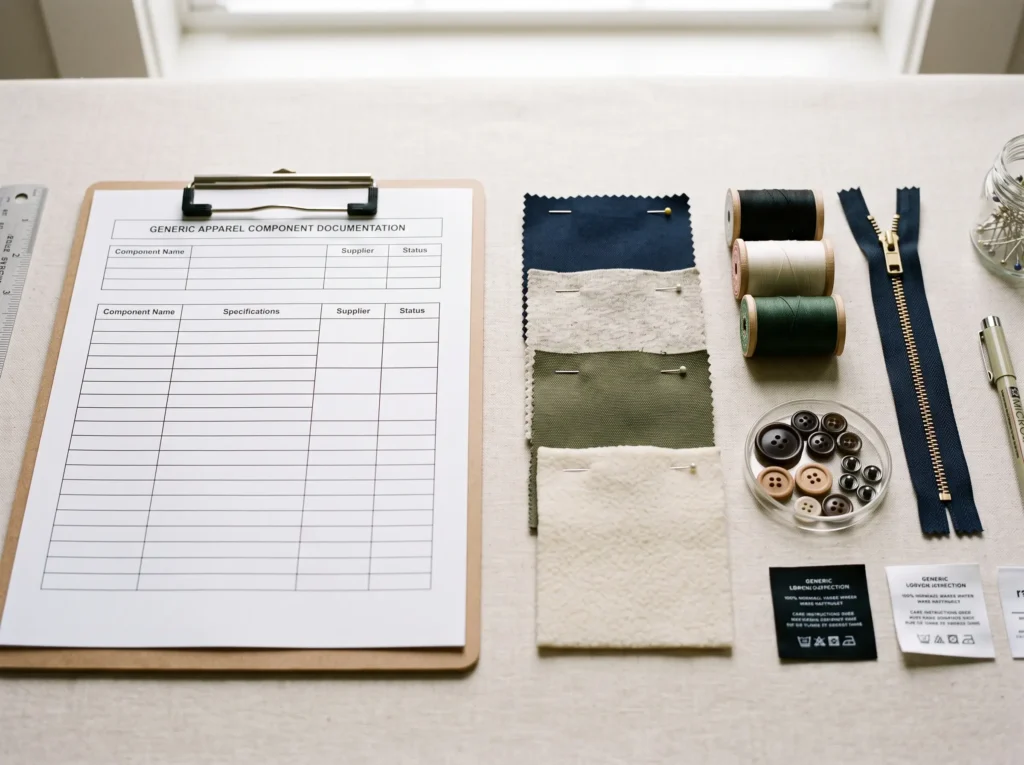
A BOM, or Bill of Materials, is the list of materials and components used to make and finish the garment. Depending on the style and workflow, it may include main and secondary fabrics, lining, rib, thread, zippers, buttons, labels, hangtags, packaging, and other trims. BOM tables do not all use the same layout.
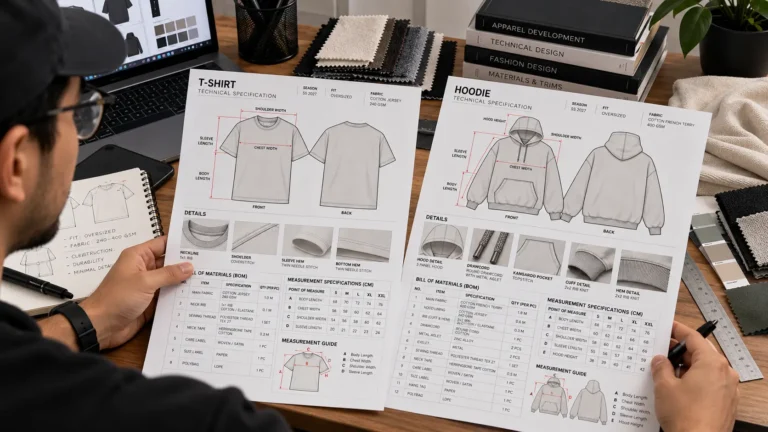
Reconcile BOM entries with drawings and notes: are major materials and visible trims listed, do references agree across pages, and are construction-note components accounted for? The T-Shirt Tech Pack Template illustrates a garment-specific format.
How to Read Tech Pack Measurements
Understand points of measure
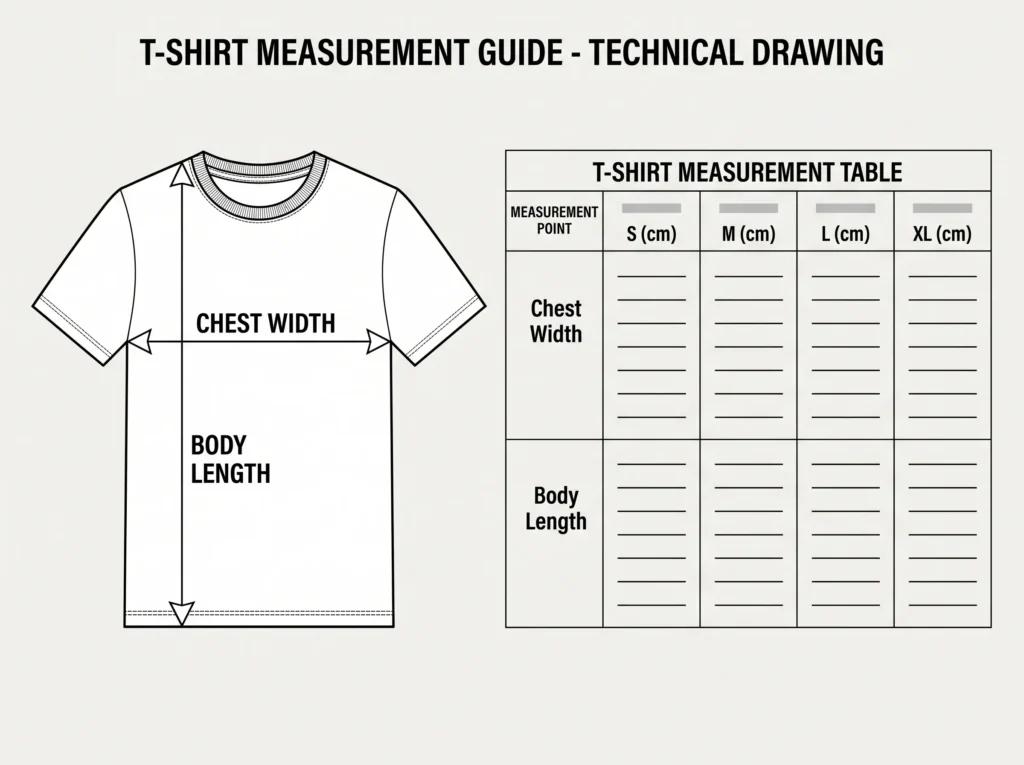
A point of measure (POM) is a named location and method for measuring a garment. Examples can include chest, body length, shoulder width, sleeve length, bottom opening, waist, inseam, or outseam, depending on the garment. A POM diagram should help you locate where a measurement starts and ends and how it is taken. Do not assume every garment uses the same list or measurement method.
Read the specification sheet left to right
Find the POM, target, method or diagram, sample or base size, unit, tolerance if specified, and size range. The target is the intended garment measurement for that size and method. Check units and whether the table describes garment or body measurements.
For example, a table might list “chest width,” a base size, a target in centimeters, and a tolerance. This identifies the dimension, size, and permitted variation under the agreed process; it is not a universal production standard.
How to Understand Tolerances and Measurement Changes
A tolerance is an acceptable range around a target measurement where specified. Its meaning can vary by measurement and workflow, so use the current specification rather than assuming a universal allowance.
Check that units, target values, and tolerances are documented consistently and that you understand which measurement each tolerance applies to. If a value is missing or appears inconsistent with a sample comment, ask for clarification before treating it as approved.
How to Read Grading and Size Information
The base size is the reference for measurements or fit review; the size range lists sizes offered. Grading describes measurement changes between sizes. The pack may show grade rules or size-by-size values, or grading may be handled separately by a pattern maker under the agreed workflow.
Check the base size, included sizes, available specifications, and where grading is documented. See whether sample fit comments changed measurements. Do not assume all sizes match or that grading always appears in the same place.
How to Read Labels, Branding, and Packaging
Labels and branding
Review main, size, and care labels, plus any country-of-origin information. Check dimensions, material, placement, and attachment method against the flats and BOM. Requirements vary by market and product; confirm applicable rules with appropriate regulatory or compliance sources.
Packaging and finishing
Look for folding, polybagging, size stickers, barcodes, hangtags, cartons, and presentation details. These may be documented separately; compare packaging components with the BOM and latest finishing instructions.
How to Read Revision History and Sample Comments
Revision history tracks changes. Check the version, date, description, sample round, approval status, and comments to determine what changed, which sample it relates to, and which version is current.
Confirm that approved changes to measurements, artwork, construction, and materials appear in the file you will share. Keep supporting files aligned to its style and version identifiers.
A Practical Page-by-Page Reading Order
Tech packs can combine sections, change their order, or leave out sections that do not apply. Use this sequence as a review path, not a required page count:
- Cover and style information: Confirm identity, style number, date, and version against supporting files.
- Technical flats: Review all views; ask whether key features are clear.
- Construction details: Match callouts to the drawing and check important features.
- Colorways: Identify body, contrast, trim, thread, and artwork colors; compare references with materials.
- Artwork placement: Check location, size, method, and color; confirm separate art files when required.
- BOM: Trace fabrics and components to the flats and notes; flag omissions.
- Measurements: Confirm POMs, methods, targets, units, base size, and tolerances.
- Grading and sizes: Check the size range and measurement details across sizes.
- Labels and branding: Compare details and placement with the BOM and flats.
- Packaging and finishing: Check that instructions match components and workflow.
- Revisions and approvals: Confirm the current version includes approved changes.
Write down questions instead of resolving contradictions yourself.
How the Different Pages Work Together
The most useful review happens between pages. Compare flats with construction notes and BOM; colorways and artwork placement with supplied art files; measurements with silhouette; size charts with grading; labels with branding placement; packaging with finishing instructions; and revision history with current specifications.
If a trim appears in a drawing but not the BOM, or a sample comment changes a graphic location that the artwork page does not reflect, the current decision is unclear. Flag it before relying on either detail.
A Simple Example: Reading an Oversized T-Shirt Tech Pack
Imagine an oversized T-shirt pack with sections for style overview, flats, construction, colorways, artwork, BOM, measurements, grading, labels and packaging, and revision history. Confirm identity and version, then identify the silhouette, neck treatment, sleeve shape, and construction lines on the flats.
Check that notes explain the neck and hem; the BOM lists applicable fabric, thread, labels, and components; and measurements identify base size, POMs, units, and tolerances. Compare dimensions with the silhouette and size information, then confirm the revision history reflects approved changes. This review identifies questions; it does not predict a production outcome.
How to Spot Missing or Unclear Information
Look for gaps such as:
- A feature appears on the flat but has no explanation elsewhere.
- A trim appears in notes but not in the BOM.
- Artwork has no clear size or location reference, or its separate production file is missing when required.
- Measurements lack units, or tolerances are absent where your agreed workflow expects them.
- The size range or base size is unclear.
- A colorway is named but relevant color references are incomplete.
- The current revision is uncertain, or a sample comment refers to a change missing from the current file.
The right response is to clarify the discrepancy, not guess. Record the page or callout, describe what does not match, and ask which information should be treated as current.
Reading a Tech Pack Before Sending It to a Manufacturer
Use several passes to make the review manageable. First, understand the garment visually. Next, check construction and materials; then review measurements, tolerances, and sizes. After that, check artwork, colors, labels, and packaging. In a final pass, confirm revisions, file names, supporting files, and any submission requirements specific to the manufacturer.
Confirm the latest approved version before sending it, and clarify open questions through the agreed communication process. A review helps you prepare clear questions; it does not replace sampling, fitting, testing, or direct communication with qualified production professionals. For the brand-side conversation, see How to Communicate With Clothing Manufacturers.
Reading a Tech Pack vs. Creating One
Reading means interpreting information and checking its consistency. Creating means documenting it through flats, specifications, materials, artwork, colorways, and revision records.
You can learn to review a pack before you are ready to create one. When you are ready to document your own styles, How to Create a Tech Pack for a Clothing Brand covers the creation process.
Build a tech pack you can read and manage
If you are moving from reviewing packs to creating or revising your apparel documentation, the Adobe Illustrator Tech Pack Template offers an editable structure for organizing technical information.
Common Mistakes Beginners Make
Common oversights include reviewing only the front flat, skipping construction notes, treating drawings as complete instructions, missing BOM entries, overlooking units or tolerances, confusing garment measurements with body measurements, and ignoring the base size or size range.
Compare artwork with production files; check labels, packaging, and revision notes. Interpretation can vary, so ask when information is unclear.

How to Read a Tech Pack Checklist
Use this as a pre-review tool, not a production-readiness guarantee:
- Correct style name and style number
- Current version and date
- Front and back flats, plus relevant views
- Construction notes and callouts
- Colorway and artwork placement information
- Separate production artwork where required
- BOM, fabric details, and trim information
- Measurement sheet, POMs, units, targets, and tolerances
- Base size, size range, and grading information where applicable
- Labels, branding, packaging, and finishing details
- Revision history and latest approved changes
- Correct supporting files and manufacturer-specific requirements
Frequently Asked Questions
How do you read a clothing tech pack?
Identify the style and version, review each technical section in order, and cross-check related pages to spot gaps and prepare questions.
What should I look at first in a tech pack?
Confirm style and version first, then review the flats before following their details into construction and specifications.
How do I understand tech pack measurements?
Check the POM method, target, units, base size, tolerance, and size range; confirm whether values describe the garment or body.
What does BOM mean in a tech pack?
BOM means Bill of Materials. Compare its list of fabrics, trims, and components with the drawings and construction notes.
How do I know which tech pack version is current?
Compare versions, dates, sample rounds, change descriptions, and approvals; confirm the latest approved changes are reflected.
What is a POM in a garment tech pack?
A POM names a measurement location and method, making comparisons with samples or other sizes consistent.
Is a technical flat enough to understand a garment?
A flat shows the garment visually; read it with construction, materials, measurements, artwork, and other production details.
How can a beginner tell if a tech pack is missing information?
Cross-check for features without notes, missing BOM trims, unclear artwork, missing units, or comments absent from the current revision. Ask rather than guess.
Conclusion
Reading a tech pack means connecting the garment’s drawings, construction, materials, artwork, measurements, sizing, and revisions. Confirm the style and version, review sections in order, and cross-check related details—especially measurement methods and units, the BOM, and approved changes.
A review helps you catch questions before manufacturer communication, but it does not replace sampling, fitting, testing, or discussion with qualified production professionals. For a consistent framework across styles, the Complete Tech Pack Library can help organize documentation. Understand what the file says, note gaps, and confirm unclear decisions before moving forward.